Showing posts with label toon. Show all posts

An X-Ray shader for OSL using an edge detection node

In this attempt to create an X-ray shader that highlights object edges we profit form the built-in facilities of OSL to compute derivatives.

The X-ray effect in the picture is mostly achieved by letting the meshes emit some light but more from their contours as seen from the camera.

(note that with all that transparency we need an awfull lot of samples to get a noise free result: even with 500 samples there is still noise visible in the image)

In order to determine what the contours are, we make use of OSLs built-in functions Dx() and Dy() that compute the derivatives of a function. The idea is that the derivatives for the current shading possition as seen from the camera change fastest at the contours of objects. This of course will only work reasonably well for curved objects. In the picture below we have a simple diffuse that is red when the sum of the derivatives is large. The small cube on the left has sharp edges that case an abrupt change that we cannot capture this way. The cube on the right has a bevel and a subsurface modifier added and does show edges.


shader der(
point Pos = P,
output vector dx =0,
output vector dy =0,
output float Lx = 0,
output float Ly = 0,
output float R = 0
){
dx = Dx(Pos);
dy = Dy(Pos);
Lx= length(dx);
Ly= length(dy);
R = Lx + Ly;
}

Sample node setup

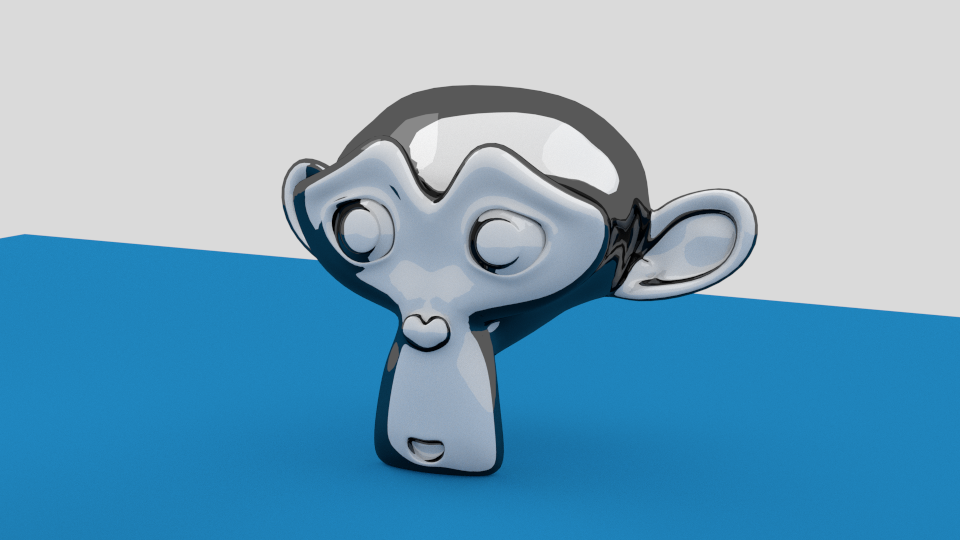
The x-ray image at the beginning of this post was created with the following node setup:

Beside a mix of shaders the most important part is the texture coordinate that we take as input: Camera space is selected here. The add and multiplication nodes are there just to give us some control over the noise we want to mix in.

Getting a Light vector in OSL for Blender

OSL works with closures and closures are effectively summed over all lights in the scene. If you would like to alter for example the color based on some completely non physical interaction with a certain light as you do for some toon shaders you still might want to access a light object anyway. This article shows how this might be achieved.
Unfortunately what is described below does not work. Whether this is a bug or not I don't know, but getattribute("Lamp","object:location",L) does not get the location of the object named Lamp but the location of the object being shaded ... So no cel shading until this is fixed ...

The code below determines the light vector L by getting the object:location attribute from an object called Lamp and subtracting the point being shaded P. In Blender getting the location attribute in OSL only seems to work for real objects, not for actual lamps! (Maybe because a lamp has no node shader attached.)
shader oink(
color Color = 1,
output color Cout = Color
){
    vector L;
    getattribute("Lamp","object:location",L);
    P=transform("object","world",P);
    float cost=abs(dot(normalize(L-P),N));
    Cout = color(cost,1-cost,.2);  
}
Note that when we plug this calculated color for example into a diffuse shader, normal lighting calculations will still be performed, so in the example image we have a pinkish color on the side of the light object and a greenish color on the sides perpendicular to the light vector (including the side facing the camera). These colors are then diffusely lit by the same Lamp object (a bit too bright in this example :-)

Example node setup


A Toon OSL shader for Blender

A question on Blender Artists made me think about a toon shader. There are of course many ways to implment toon shaders but here is what I came up with.

The basic idea of this shader is to determine how perpendicular the surface of an object is compared to the viewing angle and return black instead of the regular color if some threshold is passed. That is exactly what line 8 does in the code below.
shader outline(
    color Color = 1,
    float Angle = 50,
    output color Cout = 0
)
{
    float angle = cos(radians(Angle));
    if(abs(dot(-I,N)) > angle) Cout = Color;
}

Example node setup

The noodle used to create the sample image of Suzanne looks like this: