The goal of this article is to document as well as possible what is needed to create realistic trees in de middle distance while using as few rendertime resources as possible.
In
a previous article we found that using geometry instead of alpha mapped leaves might be faster to render and in this article we investigate this further and investigate geometry and material choices that allow for realistic trees while minimizing render time and memory consumption.

Realism and middle distance defined
What do we consider to be the 'middle distance'? We are not dealing with image filling close-ups of hero trees but we need more details than a back-plate depicting trees at hundreds of meters away.
For trees I consider the middle distance a distance where we still can see that the tree consists of individual leaves and that when moving we are close enough to see a parallax effect (we see different sides of the tree and perceive it as truly three dimensional.
To achieve realism at this distance then, it is necessary for the tree to be a three dimensional mesh with actual 3D branches in its crown. Also we will still be able to discern the outline of individual leaves (but not very clearly) but surface detail in leaves will not make perceptible difference and neither will small details in the bark texture.
In the sections below I will illustrate the choices I made as I recreate a medium sized red oak (
quercus robur) from scratch while keeping this image as a reference.
To create the tree mesh I use my
Space Tree Pro add-on but the observations apply to any tree mesh of course.
The reference
The reference photo was shot in fairly light conditions in the afternoon in the spring (May). The tree in question is about 8 meters high and has new spring leaves that are (almost) fully grown. These leaves are individually about 10-12 cm long and all fairly even in color because there is almost no insect, mold or wind damage yet.
We will try to emulate the direction and intensity of the light in the original with a suitable HDRi from
HDRI Haven and use filmic color management to approximate these fairly high contrast conditions.
Note that the trunk of this tree is a bit obscured by a metal trellis to guard against damage by goats ;-)
A closeup of the bark shows a fairly uniform grayish texture with comparatively few deeper structures (the tree is about 14 years old).
The camera was at roughly 20-25 meters from the tree.
The crown shape
Most trees have a crown shape that is not a perfect sphere and an oak is no exception. The shape is an egg shape, wider at the bottom than at the top. The crown silhouette is not perfectly smooth still, some bumps and dents are noticeable.
In more mature oak trees these irregularities will result in a more cumulus cloud-like silhouette.
Even though the branches themselves are hardly visible due to the leaves, from winter photos we know they have a slightly upward bending habit and are not straight. Note that we do not model every little twig; our leaf particles will be modeled to resemble twigs and not just single leaves.
Foliage density
It is a little bit difficult to find information on the actual number of leaves on a tree of a certain age so we will do this 'by eye'. There are no leaves deep inside the crown but red oaks do not have leaves just at the end of the branches but twigs with leaves are also present deeper into the crown along the branches.
Twigs instead of individual leaves
Leaves are typically connected to small twigs so instead of bunching up all the leaves at points along the branches we create particles with multiple leaves like shown below. Note that at this point we don't bother with the actual shape: the leaves are rectangular and we leave out the actual twig altogether.
Leaf shape
We notice from the initial rendering that at a camera distance of 25m we can see even at this resolution that the leaves are rectangular, so we need to shape these leaves a little bit more.
Geometry vs. alpha mapping
Since we cannot see small details, leaf texture maps are not necessary: instanced geometry is very efficiently rendered, and also real geometry gives us the option to add a real crease and some curvature to the leaves.
The final shape we choose is shown in the image below. We create some variations that we place in a group that we can use in a particle system. Remember to use smooth shading on the meshes otherwise you will get sharp reflection boundaries which will give a noisy impression
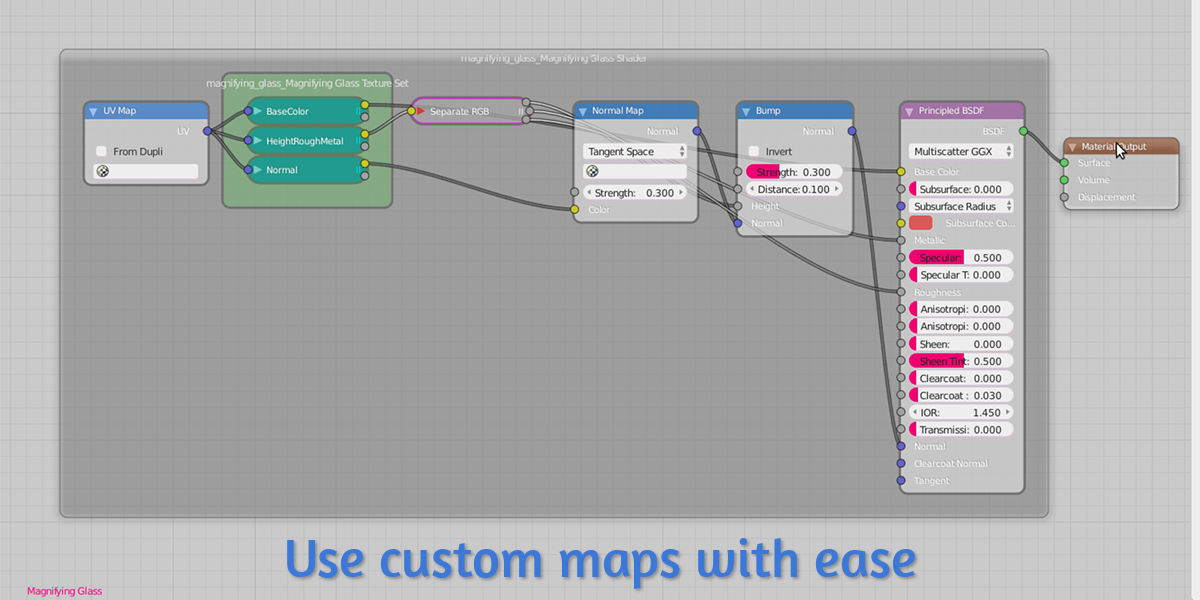
Leaf material
The leaf material is important but because we cannot see any small details at this distance it will not be necessary to use texture maps, so we will create a simple shader that uses Blender's principled shader node.
Color and roughness
Color and roughness are very important for the look and feel. Because all the leaves on our tree are fresh the color is rather uniform. The leaves are also smooth but not very shiny. The first approximation looks like this:
Variation
Even if we are looking at fairly uniform spring foliage, for visual interest or to get a more summer-like look we might want to add some variation. Because each particle is an object with a unique random number we can use a simple color ramp to drive this color variation. Because each particle has more than one leaf, we give each leaf a unique gray-scale vertex color as well for even more variation.
The node setup we use and the result look like this:
Note that the front and backsides of the leaves are slightly different in real life but we ignore that.
Translucency
If we look at the image now we notice that the coloring is still rather flat, even though the contrast is quite high and we added a bit of color and roughness variation. The main reason for this is that the leaves at the outside receive a lot of light from behind and are a bit translucent. If we add a small fraction of translucency, the whole crown gets a far more dynamic coloring:
Transparency
Translucency implies some transparency as well: the light that is travelling through a leaf and gets through will end up illuminating something else. Transparency will result in longer render times however so we will want to use as few bounces as possible. We use the same noodle as before but add 0.1 transparency in the principled shader:
(Images show 0, 1, 2 and 3 bounces respectively: the difference is hardly noticeable if we add some transparency and more than one bounce is indistinguishable to the human eye)
So we see that transparency is desirable for slightly more light deeper inside the crown but the effect of more than one bounce is limited]
Bark material
With the leaves covered we also need to look at the bark.
Color, roughness and normals
The bark is only really visible on the main trunk. Some color variation is visible at this distance but not much and the bark structure is invisble.
Displacement
The outline of the trunk looks rather smooth and artificial so it will benefit from some extra distortion and even though still experimental in 2.79, micro-displacement is an efficient way to add details to a low poly mesh and break the artificially smooth outline of the trunk. The settings used are the defaults (modifier on the left, material settings on the right):

The shader we use looks like this
Note that we scale everything with the distance to the origin of the mesh [which is at the foot of the trunk), this way small branches will get almost no visible displacement while the foot of the trunk even flares out a little bit, hinting at some hidden root system
Render times
Each effect that we add impacts render times so here is a small summary, all rendered at a resolution of 700x750 pixels at 500 samples with denoising on a GTX970 (the absolute timings will be different on different hardware of course):
Material effects
| Feature | time (seconds) |
|---|
| 3 transparent bounces | 174 |
| 2 transparent bounces | 172 |
| 1 transparent bounces | 164 |
| no transparency | 156 |
| no translucency | 144 |
The timings were generated by simply muting the relevant nodes in the material or setting transparent to 0 in the principled shader. Cycles is smart enough to optimize away any unused nodes in the resulting shader.
Since transparency adds quite a bit to the render time, we might skip it all together because as we have seen it is hardly visible in the end result. The 10 extra seconds for translucency however are certainly worth it.
Leaf geometry
We already know that real geometry is faster than using alpha mapped textures, but what about more particles or more detailed geometry? In the images shown until now we each time had 14868 leaves on the tree, each leaf with 448 square faces. If we vary these numbers by changing the number of particles and subdividing the faces in the leaves, we can compare the render times.
number of particles /
number of faces in leaf | 10000 | 14868 | 20000 |
|---|
| 448 (1x) | 154 | 174 | 190 |
| 1792 (4x) | 162 | 183 | 204 |
| 7168 (16x) | 170 | 194 | 226 |
As we can see, doubling the number of particles does not double the render time. So if we need to create a denser tree crown, adding a few particles does hurt much.
This is even more true for the amount of detail in the leaves: 16 times the number of faces only amounts to approximately 10% extra render time.
The impact on peak memory usage during rendering is minimal: at 7168 faces per particle, 10000 particles peak at 647 MB, and 20000 particles at 651 MB, so with the number of particles we need for a tree the memory usage is hardly a concern.
Conclusion
With our choice of a single transparent bounce but with added translucency we get a nice result. Adding some extra particles or refining the geometry of the leaves does not hurt render times much but there is no need to go overboard as a few extra faces go a long way. No doubt that the realism of the
image can be improved even more by proper lighting etc, but I am not an artist so i concentrated on the technical aspects :-)
Freebie
If you like the tree and/or want to experiment with it, you can download the .blend file from my
GitHub page. The tree was generated with Space Tree Pro [
available on BlenderMarket], so if you own that add-on you can even change its parameters to get different oak trees (the tree parameters are
not compatible with my old free space tree add-on)

 Look: CS ST Y L 3
 Look: B2 Gangster
 Look: B2 Sniper Alt
 Look: B2 The Phantom Alt
 Look: B2 Wade Pool
 Look: CC Crush
 Look: CM Ice